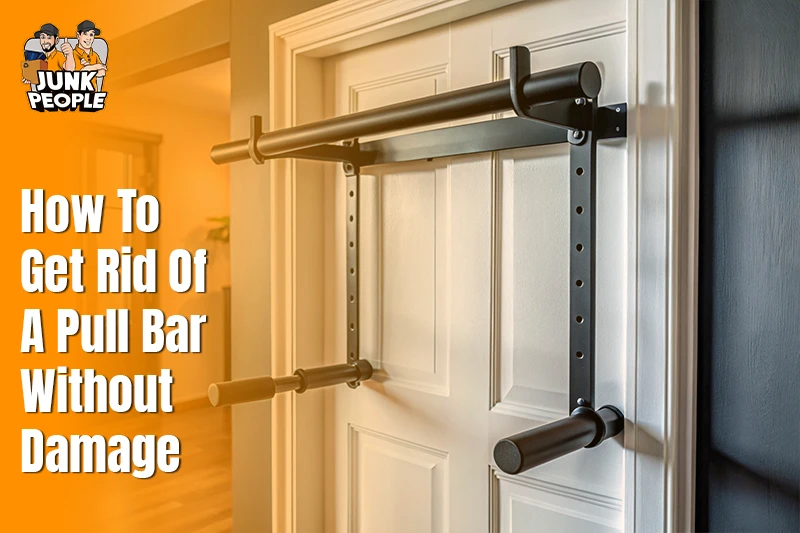
Pull bars make home workouts simple and fast at home. They fit well in tight spaces and door frames. But taking them down the wrong way can cause damage. You might see chipped paint or bent trim. When you remove pull bar setups, the force problems begin quickly. Small cracks can grow into larger repairs over time.
Let’s explore why careful action truly matters here. During pull bar removal, screws may tear drywall apart. Anchors can loosen and leave wide open hole. That is why the safe see-saw removal guide needs steady hands. A clear plan prevents scratches and dents and reduces repair costs. Follow these steps to get rid of pull-up bar hardware without stress.
Why Removing a Pull Bar Safely Matters
Pull bars make home workouts simple and fast at home. They fit well in tight spaces and door frames. But taking them down the wrong way can cause damage. You might see chipped paint or bent trim. When you remove pull bar setups, the force problems begin quickly. Small cracks can grow into larger repairs over time.
Now let’s see why careful action truly matters here. During pull bar removal, screws may tear drywall apart. Anchors can loosen and leave wide open holes. That is why safe swing removal tips need steady hands. A clear plan prevents scratches and dents and reduces repair costs. Follow these steps to get rid of pull-up bar hardware without stress.
1. Inspect Your Pull Bar and Setup
Before you start any work, take a careful look. A quick check helps prevent damage during pull bar removal.
Identify the Type of Pull Bar
Before you begin, take a close look at your setup. Not all bars attach in the same way. Some press tight inside a door frame. Others bolt into studs or beams for support. Doorway pull-up bar removal needs a gentle touch. Wall and ceiling bars need tools. Knowing the type helps you get rid of pull-up bar systems without damage or stress.
Check for Potential Hazards
Now inspect the area for weak points. Look for loose screws or bent brackets. Damaged anchors may slip out without warning. You might see cracks around the frame edges. These signs matter before any pull bar removal begins. Ignoring them can tear drywall or trim. A careful check lowers risk and keeps the pull bar dismantling smooth and controlled.
2. Gather the Right Tools
Before you begin, set your tools nearby. Good prep makes the step-by-step pull bar removal smooth.
Essential Tools
You need the right tools before you begin. Use flathead and Phillips screwdrivers for most screws. Some bars require an adjustable wrench for bolts. Allen keys help loosen tight fittings. A rubber mallet can free stuck parts gently. When tools match the hardware, you avoid slips. The right setup helps with professional junk removal of pull-up bar units without strain or damage.
Safety Gear
Now think about your safety during this task. Wear gloves to protect your hands from sharp edges. Metal brackets can cut skin if handled fast. Use eye protection to block dust and debris. Small screws may fall during removal. Simple gear lowers risk and keeps focus steady. These pull bar safety tips make the process calm and controlled.
3. Step-by-Step Pull Bar Removal
Follow each step slowly and stay patient. Careful removal helps avoid wall damage.
Tension-Mounted Bars
Hold both ends of the bar with care. Twist it slowly to release the built-up pressure. Do not rush this step at all. Sudden force may scrape paint or dent trim. Once loose, lower it gently and steady. Place it aside without dragging on surfaces. This careful move helps you get rid of pull-up bar setups without marks or stress.
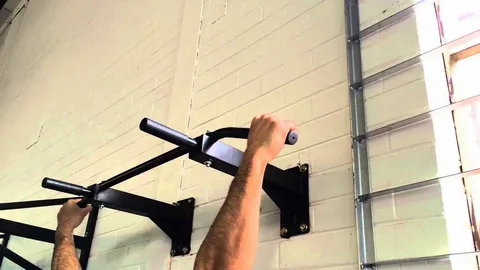
Wall-Mounted Bars
Inspect each bracket before you start work. Loosen screws slowly with a firm grip. Support the bar with one hand as you work. Remove anchors using pliers and pull straight out. If holes remain, fill them with a wall patch. Take your time with each step. Careful pull bar removal keeps walls clean and prevents future repair issues.
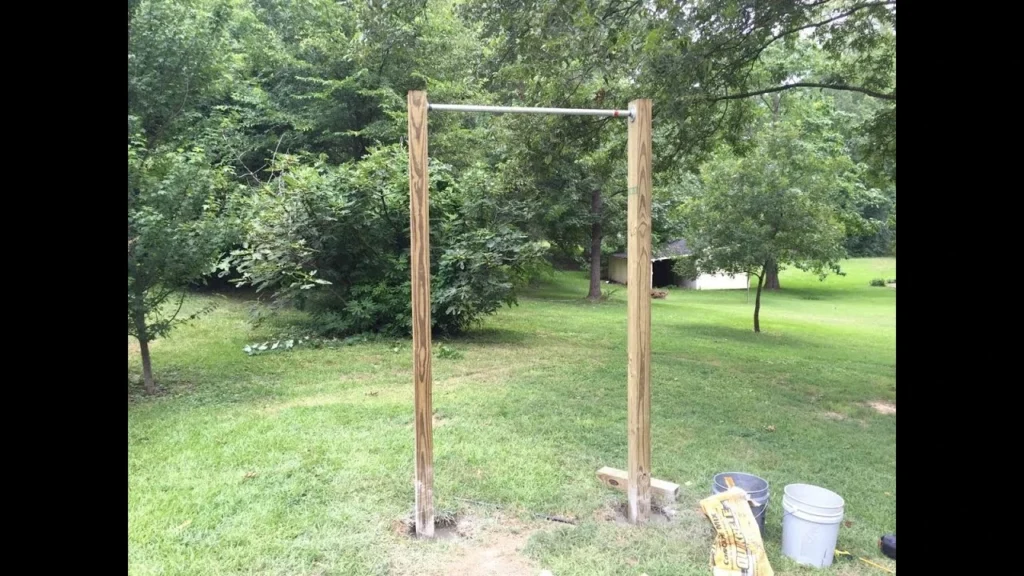
Ceiling Mounted Bars
Use a stable ladder placed on flat ground. Keep your balance steady before touching bolts. Unscrew each bolt slowly while holding the bar. Falling parts can scratch the floors below. Place a cloth under the work area. Lower the unit gently once it is free. Safe affordable demolition services here prevent damage and keep your space neat.
4. Handling Anchors and Wall Damage
Anchors often cause the most trouble. Careful steps help avoid wall damage during pull bar removal.
Remove Screws and Anchors Safely
Start by loosening each screw slowly. Do not yank them out in haste. Suppose an anchor spins. Use pliers to hold it firm. Turn it gently until it slides free, for tight anchors drill around them with care. Keep the drill straight and steady. This method helps you get rid of pull-up bar hardware without cracking the wall surface.
Repair Minor Wall Damage
Small holes often remain after anchors are removed. This is normal and easy to fix. Fill each hole with a wall putty and press it flat. Let it dry before sanding the area smooth. Wipe dust away with a cloth. Add paint if needed to match the wall. Careful patchwork keeps pull bar removal clean and neat.
5. Transporting or Storing the Pull Bar
Once the bar is down, think about the next steps. Proper care supports smooth home gym equipment removal.
Clean and Inspect Components
Take time to clean each part with care. Wipe metal bars using a dry soft cloth. Remove dust from grips and small joints. Check closely for rust or loose bolts. You might see worn padding or cracks. Early checks help if you get rid of pull-up bar units later. A clean bar also makes the DIY pull bar teardown feel complete.
Store or Donate
Decide if you will store or pass it on. Wrap each piece to prevent scratches. Place hardware in a small bag. Store the box in a dry space. If the bar is in good shape, consider donating it. Many people look for home gym equipment removal deals. Sharing used gear gives it new life and clears your space.
Common Damage Risks During Pull Bar Removal
Pull bars can leave marks if handled in haste. Careful pull bar removal helps avoid wall damage and frame cracks.
- Downward pressure can bend wooden trim or dent drywall. Doorway pull-up bar removal often stresses architrave edges and weak plaster areas.
- Padding may leave deep marks or peel paint away. Always prevent scratches and dents by checking contact points before removal.
- Over-tightening may crack the frame itself. Safe pull bar dismantling protects the support area during home gym equipment removal.
- Low-grade bars may bend or snap under strain. Step-by-step pull bar removal lowers sudden stress on parts.
To get rid of pull-up bar setups without harm, follow basic pull-up bar safety tips. Use padding and review pull-up bar installation tips before you remove the mounted pull bar hardware.
Conclusion
Taking down a pull bar needs patience and care. Small mistakes can lead to wall marks or loose frames. When you remove pull bar hardware the right way, Junk People LLC helps protect your space. A calm plan keeps tools under control. Safe pull bar removal also reduces repair costs later. Each step matters from inspection to final check.
Now you know how to get rid of pull-up bar setups safely. The step plan keeps the process simple and clear. Using proper tools lowers risk and strain. Careful handling protects floors and paint. When done right, your space looks clean again.
Follow these expert tips to remove your pull bar safely. Contact us today for guidance or assistance.
FAQs
Yes, you can remove it without damage if you work slowly and carefully. Loosen pressure first and avoid force. Check anchors before lifting the bar away.
Most jobs need screwdrivers, a wrench, and Allen keys. A rubber mallet can help with stuck parts. Gloves and eye protection improve control and safety.
Release the tension by twisting the bar slowly. Keep the frame steady and lower it gently. Avoid dragging it across painted surfaces or trim.
Yes, one person can handle it with care. Support the bar with one hand while loosening screws. Work slowly to prevent strain or sudden drops.
Fill small holes with wall putty and smooth it flat. Let it dry fully before sanding. Paint the area to match the wall finish.